Use this tool to remove it. See instructions that come with.
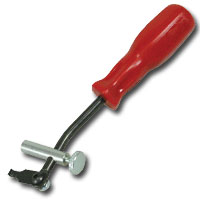
This tool removes this seal in 10 seconds.!
If you don't have this tool, then try punching the seal with a ice pick ,then screw in some screws and then pull it out using the screws.
Seal is out, crank is happy. Nothing beats a happy crank. LOL.

One way:
I ended up taking a Yogurt container, cutting a strip approximately 3/4" wide and exactly 10cm long, taping it into a ring, covering the outside with teflon pipe tape, and fitting it inside the seal, like below:
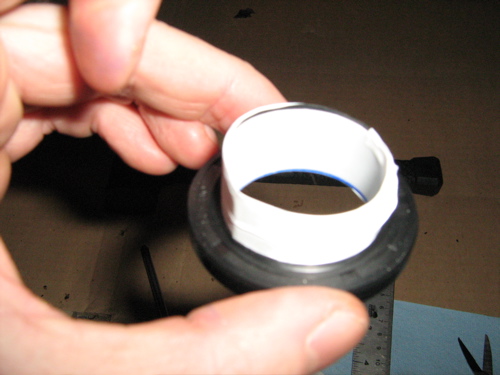
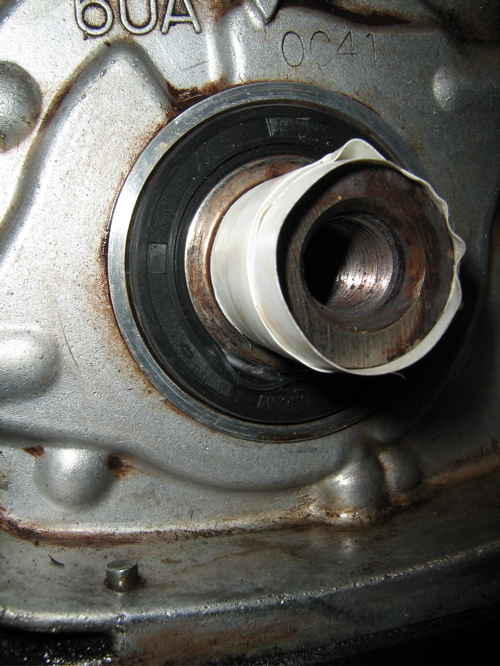
This then slipped over the crankshaft snout and up to the boss, and I gently eased the seal over the edge of the boss.
It took the assembly with it, a bit, so I then held the seal in place and gently pulled the ring out with needlenose pliers. Voila! Seal over the boss, not turned inside out. (and no wrecked seal )
The correct tool for this is the suzuki tool $2 pn/ 09926-18210 . Suzuki J34853 PN:09926-18210, sadly no longer made. (even for 98' Kicks)
Then I pushed it in as far as I could ,by thumb, and left it pending finding/making an implement to tap it in the rest of the way.
PVC or EMT pipe makes good seal press device.
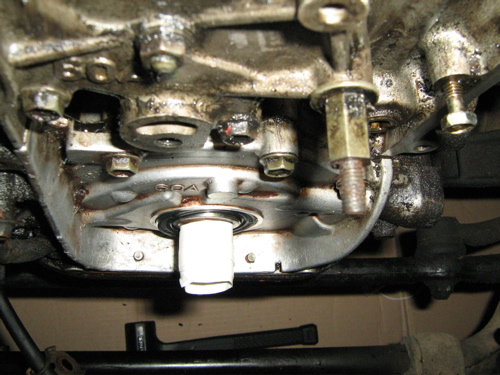
back in:
Spec is for seal to be level with surface, no more.
Do not's:
Drill the seal, punching it is better, the chuck of a drill, can hit the crank and wreck it.
Don't Scratch the pump housing seal bosses. It is aluminum and very soft. Take care and no rushing.
Do not let new seal drag against the sharp edges of the crank key way slot. See tape.
Inside peek: (no oil pump, no pan) Timken "kwk99128" in place for seal boss.

My alternate simple way to insert the seal. See this seal boss above. I just use electricians tape on this lip.
I wrap the shaft snout, and that first EDGE with electricans tape, to protect the seal, as I insert it.
Then , I grease the seal front and back lips and then grease the crank EDGE.
Last, is the ease the seal into its pocket and over that EDGE, that is taped and greased. <<< simple , huh ?
This is my easy way of doing it.
Credit:
For most of the photos.
Mr. Rudar , Vancouver, BC (bless you man)
ver 1